
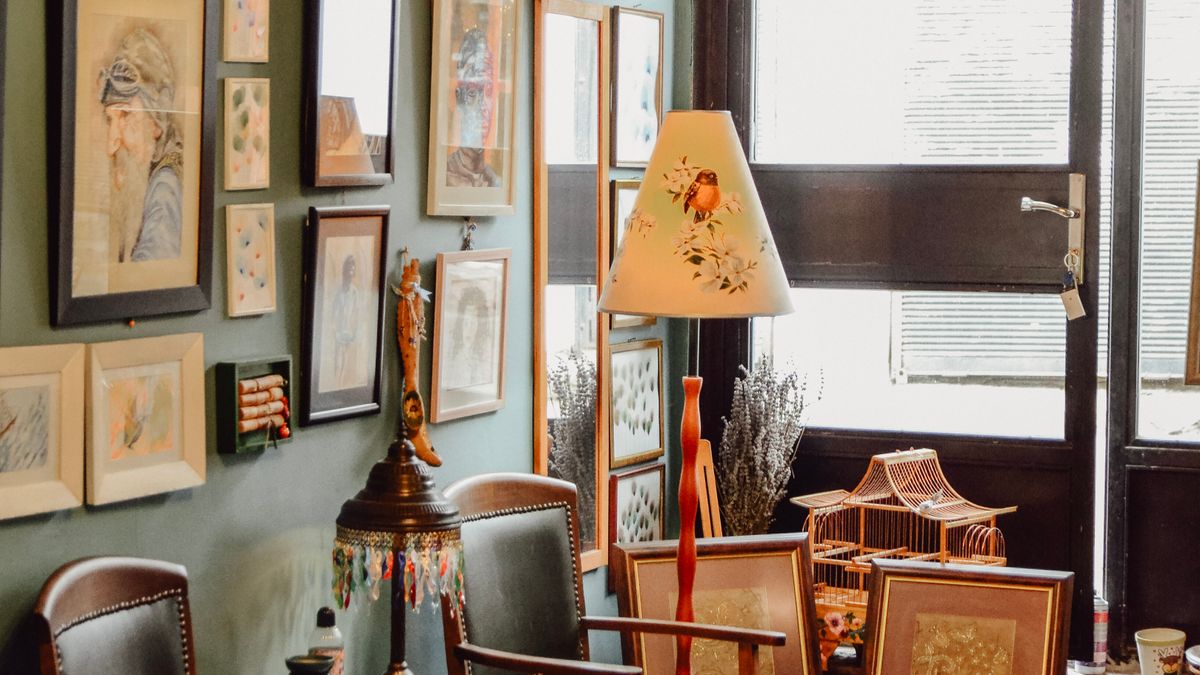
Shelves are one of the hardest working spots in a small home. They hold your reading pile, your favourite mug, the print you bought on holiday and the little ceramic dish that never quite found a home. Left to their own devices, they become a catch-all. Styled with a bit of thought, they become the quiet backbone of a room.
The trick is not to fill every inch. It is to arrange books, ceramics and framed prints in small groups, then step back and let the gaps do some of the work. A shelf that breathes always looks more considered than one crammed edge to edge.
Books are the easiest thing to build a shelf around because they bring colour, texture and height all at once. Before you add anything else, decide how they will sit.
Group books by subject, spine colour or size rather than alphabetically if the shelf is on show. A run of similar-height hardbacks reads as one calm block; random heights chopped together read as clutter. If you have paperbacks you would rather not display, turn them spine-inward for a softer, quieter look — just keep them to one shelf so the room does not feel secretive.
The eye likes clusters. One lonely ornament on a long shelf looks lost; the same ornament beside two others looks deliberate. Aim for groups of three to five items, with each group reading as a single unit.
A reliable formula is: something tall, something low, something textured. A framed print leaning against the back wall, a short stack of books beneath it, and a small vase or dish in front. That is a complete vignette in about 30 centimetres of shelf.
Then give each group its own patch of shelf and leave the space between groups empty. Two or three clusters per shelf is plenty. Resist the urge to bridge the gaps with "just one more thing" — the gaps are what make the clusters visible.
This is the part most people skip, and it matters most in small rooms where every surface competes for attention.
An easy test: stand two metres back and squint. If you cannot see clear horizontal lines of shelf showing through, you have too much on it. Take one item off each shelf and look again. It almost always improves.
The pieces that make a shelf feel like yours are rarely precious. They are the everyday things: a stoneware mug, a small jug, a candle in a tin, a bowl you keep keys in, a postcard propped against the wall.
Framed prints work beautifully on shelves because they add height without weight. Lean them against the back rather than hanging them, and vary the sizes — one large, two small. Keep frames in two finishes at most, such as pale wood and black, so the shelf does not turn into a jumble of metals.
For ceramics, follow a simple rule: vary the finish, repeat the colour. Three vessels in cream but with different glazes — matte, glossy, speckled — look like a collection. Three vessels in three clashing colours look like a car boot sale.
Depth is what separates a styled shelf from a flat one, and it costs nothing.
Keep the front layer low so it never hides what is behind it. And use the lower shelves for the heavier, chunkier items; lighter objects look better higher up, where they will not visually drag the whole unit down.
A styled shelf is not a fixed installation. Treat it as a slow rotation: swap one or two objects every few months, bring out a different print, move the candle to a different shelf. Because you have left space, there is always room for something new without a full reshuffle.
Start with one shelf, not all of them. Clear it completely, put back your books in two or three groups, add one framed print and one ceramic, then walk away for an hour before you decide it needs more. Usually it does not. In a small home, a shelf with a little air around it does more for the room than one filled to the brim — and it is far easier to keep tidy.

Hi, my name is Anthony kuber. I am artist and fashion designer.
I love to travel and writing blogging.
Your email address will not be published. Required fields are marked *
Software Developer & Writer
Hey, I'm Diva, a developer and writer blending code and creativity. I'm driven by a deep curiosity and a relentless pursuit of excellence. Join me as I craft digital solutions and captivating stories.


